

TL;DR
- ✨ We'll learn how to build a custom Google Maps marker using any React component.
- 💅 We'll learn how to create animation and user interaction with our custom marker.
- 🚀 We'll discuss how to avoid compilation error during build time in Next.js.
This article is also available on
Feel free to read it on your favorite platform✨
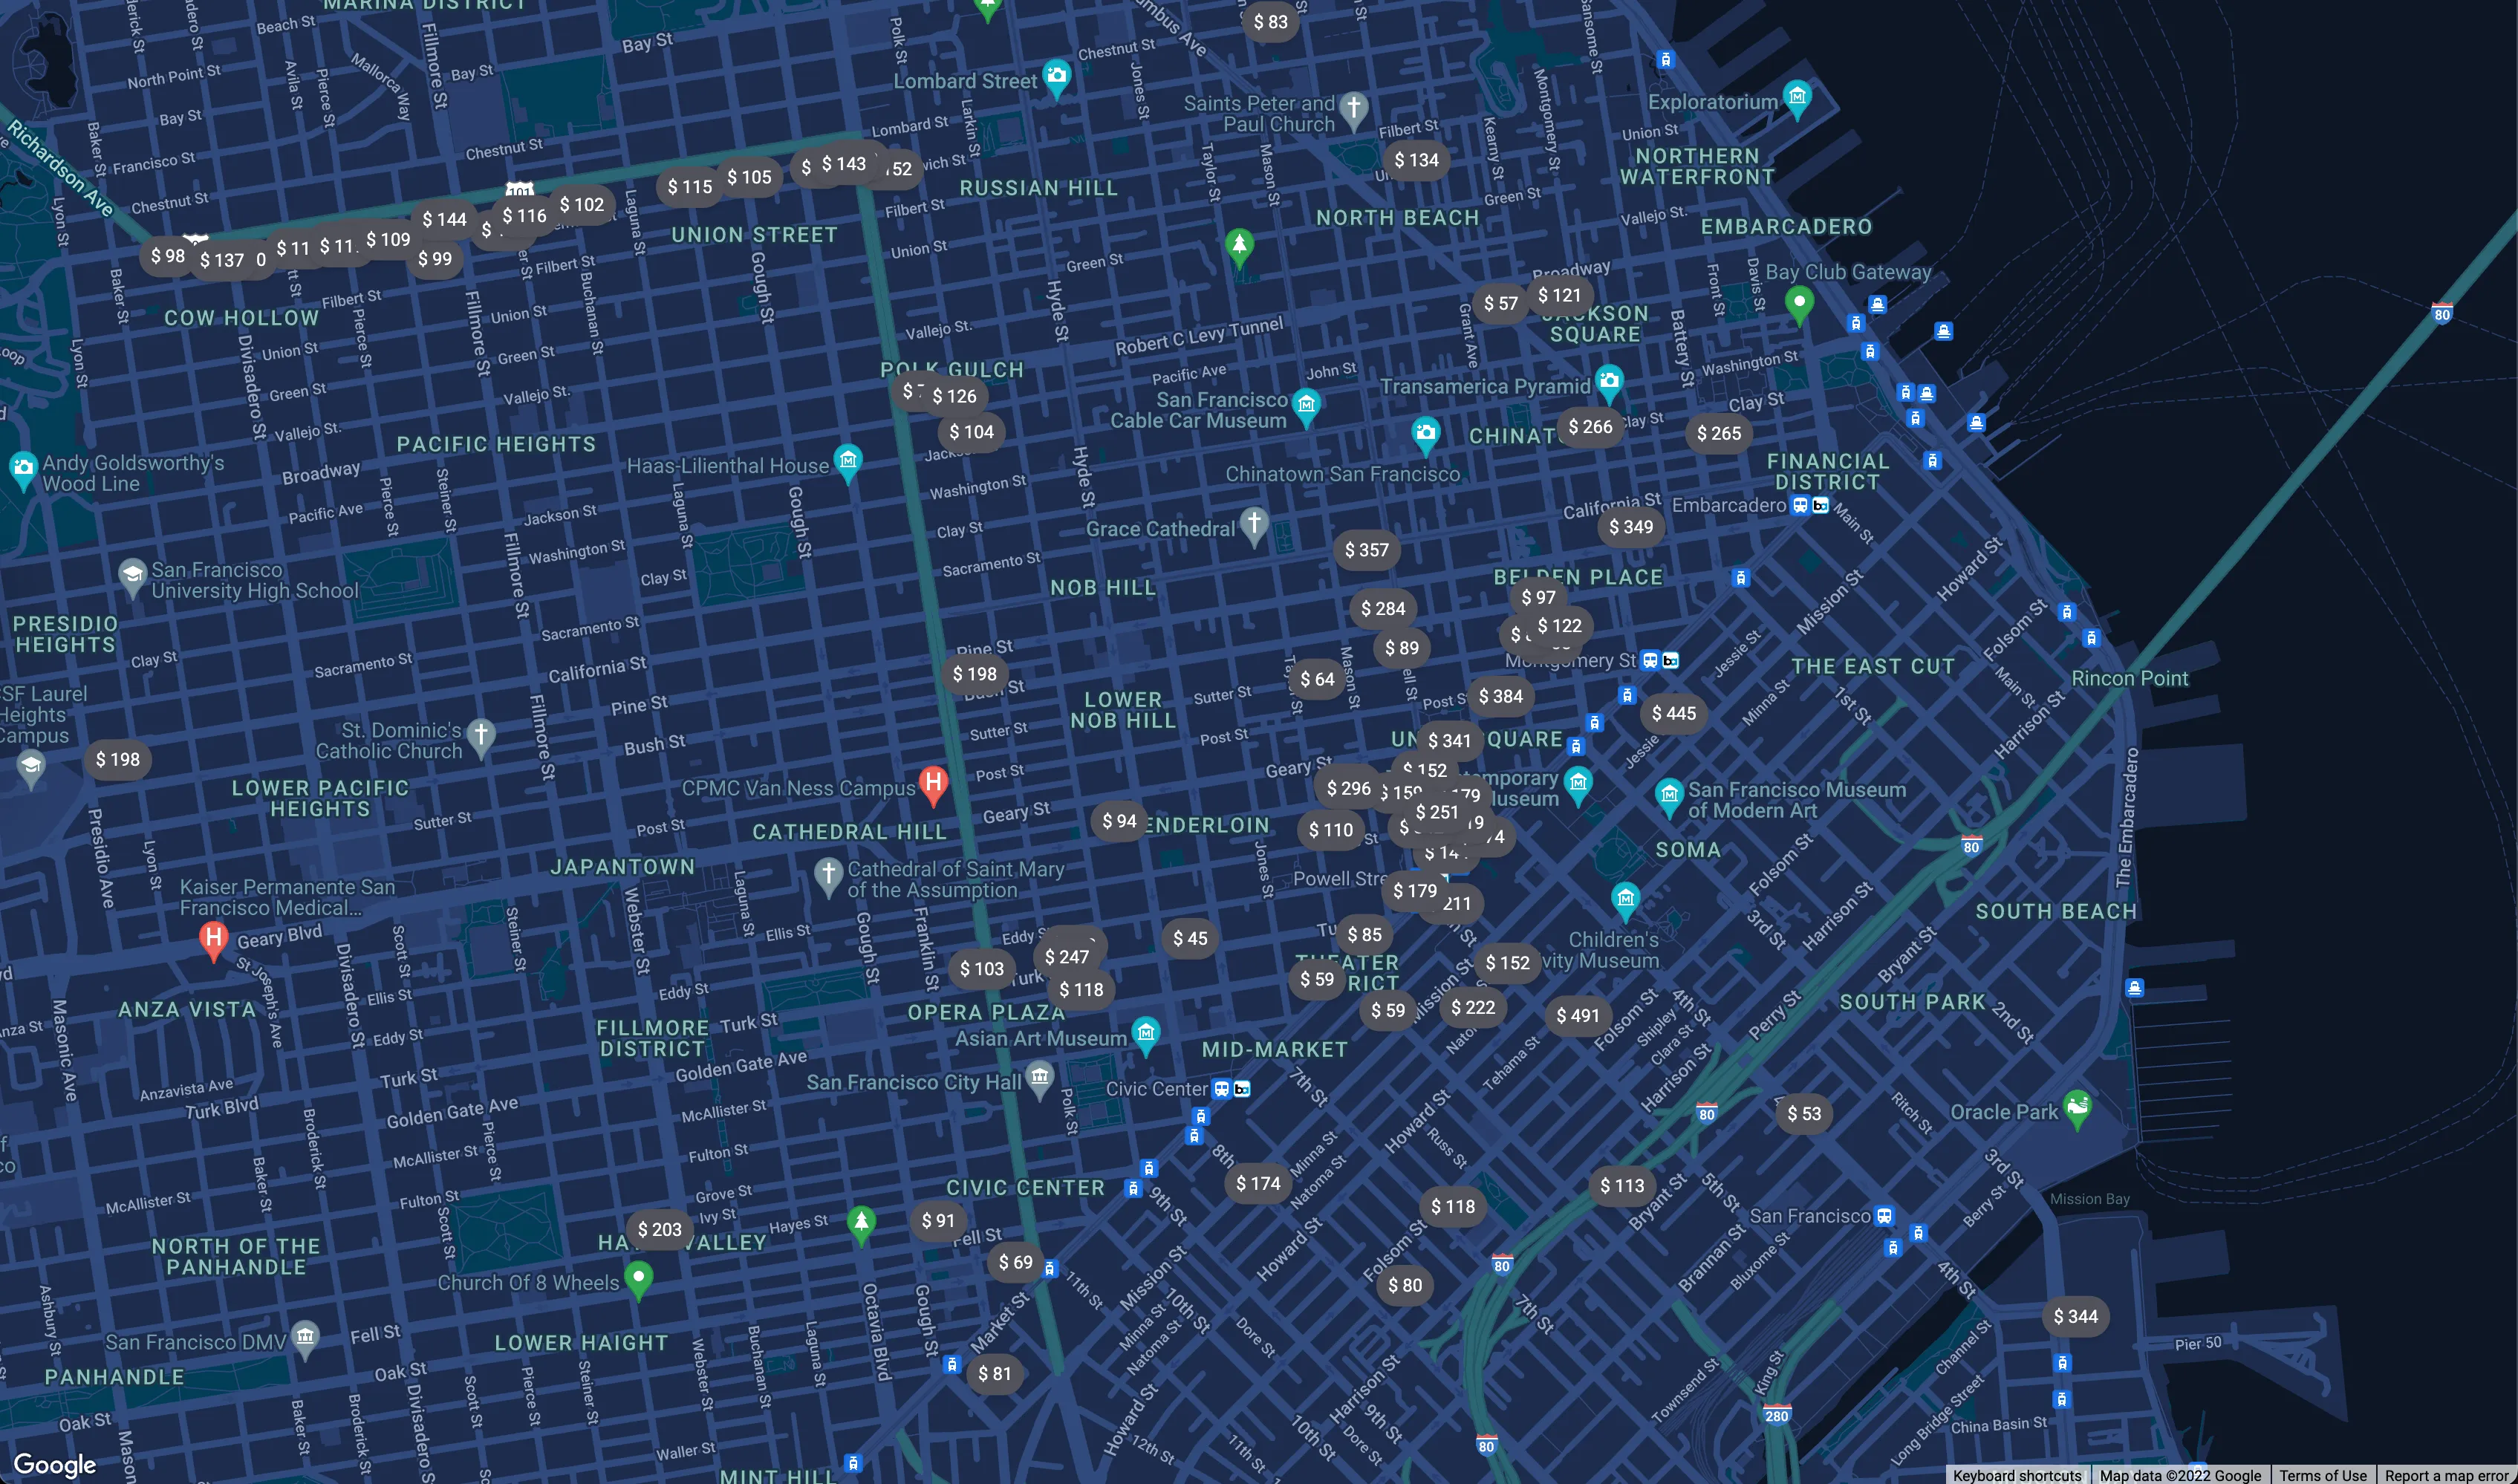
I was curious about making markers on Google Maps like Airbnb.
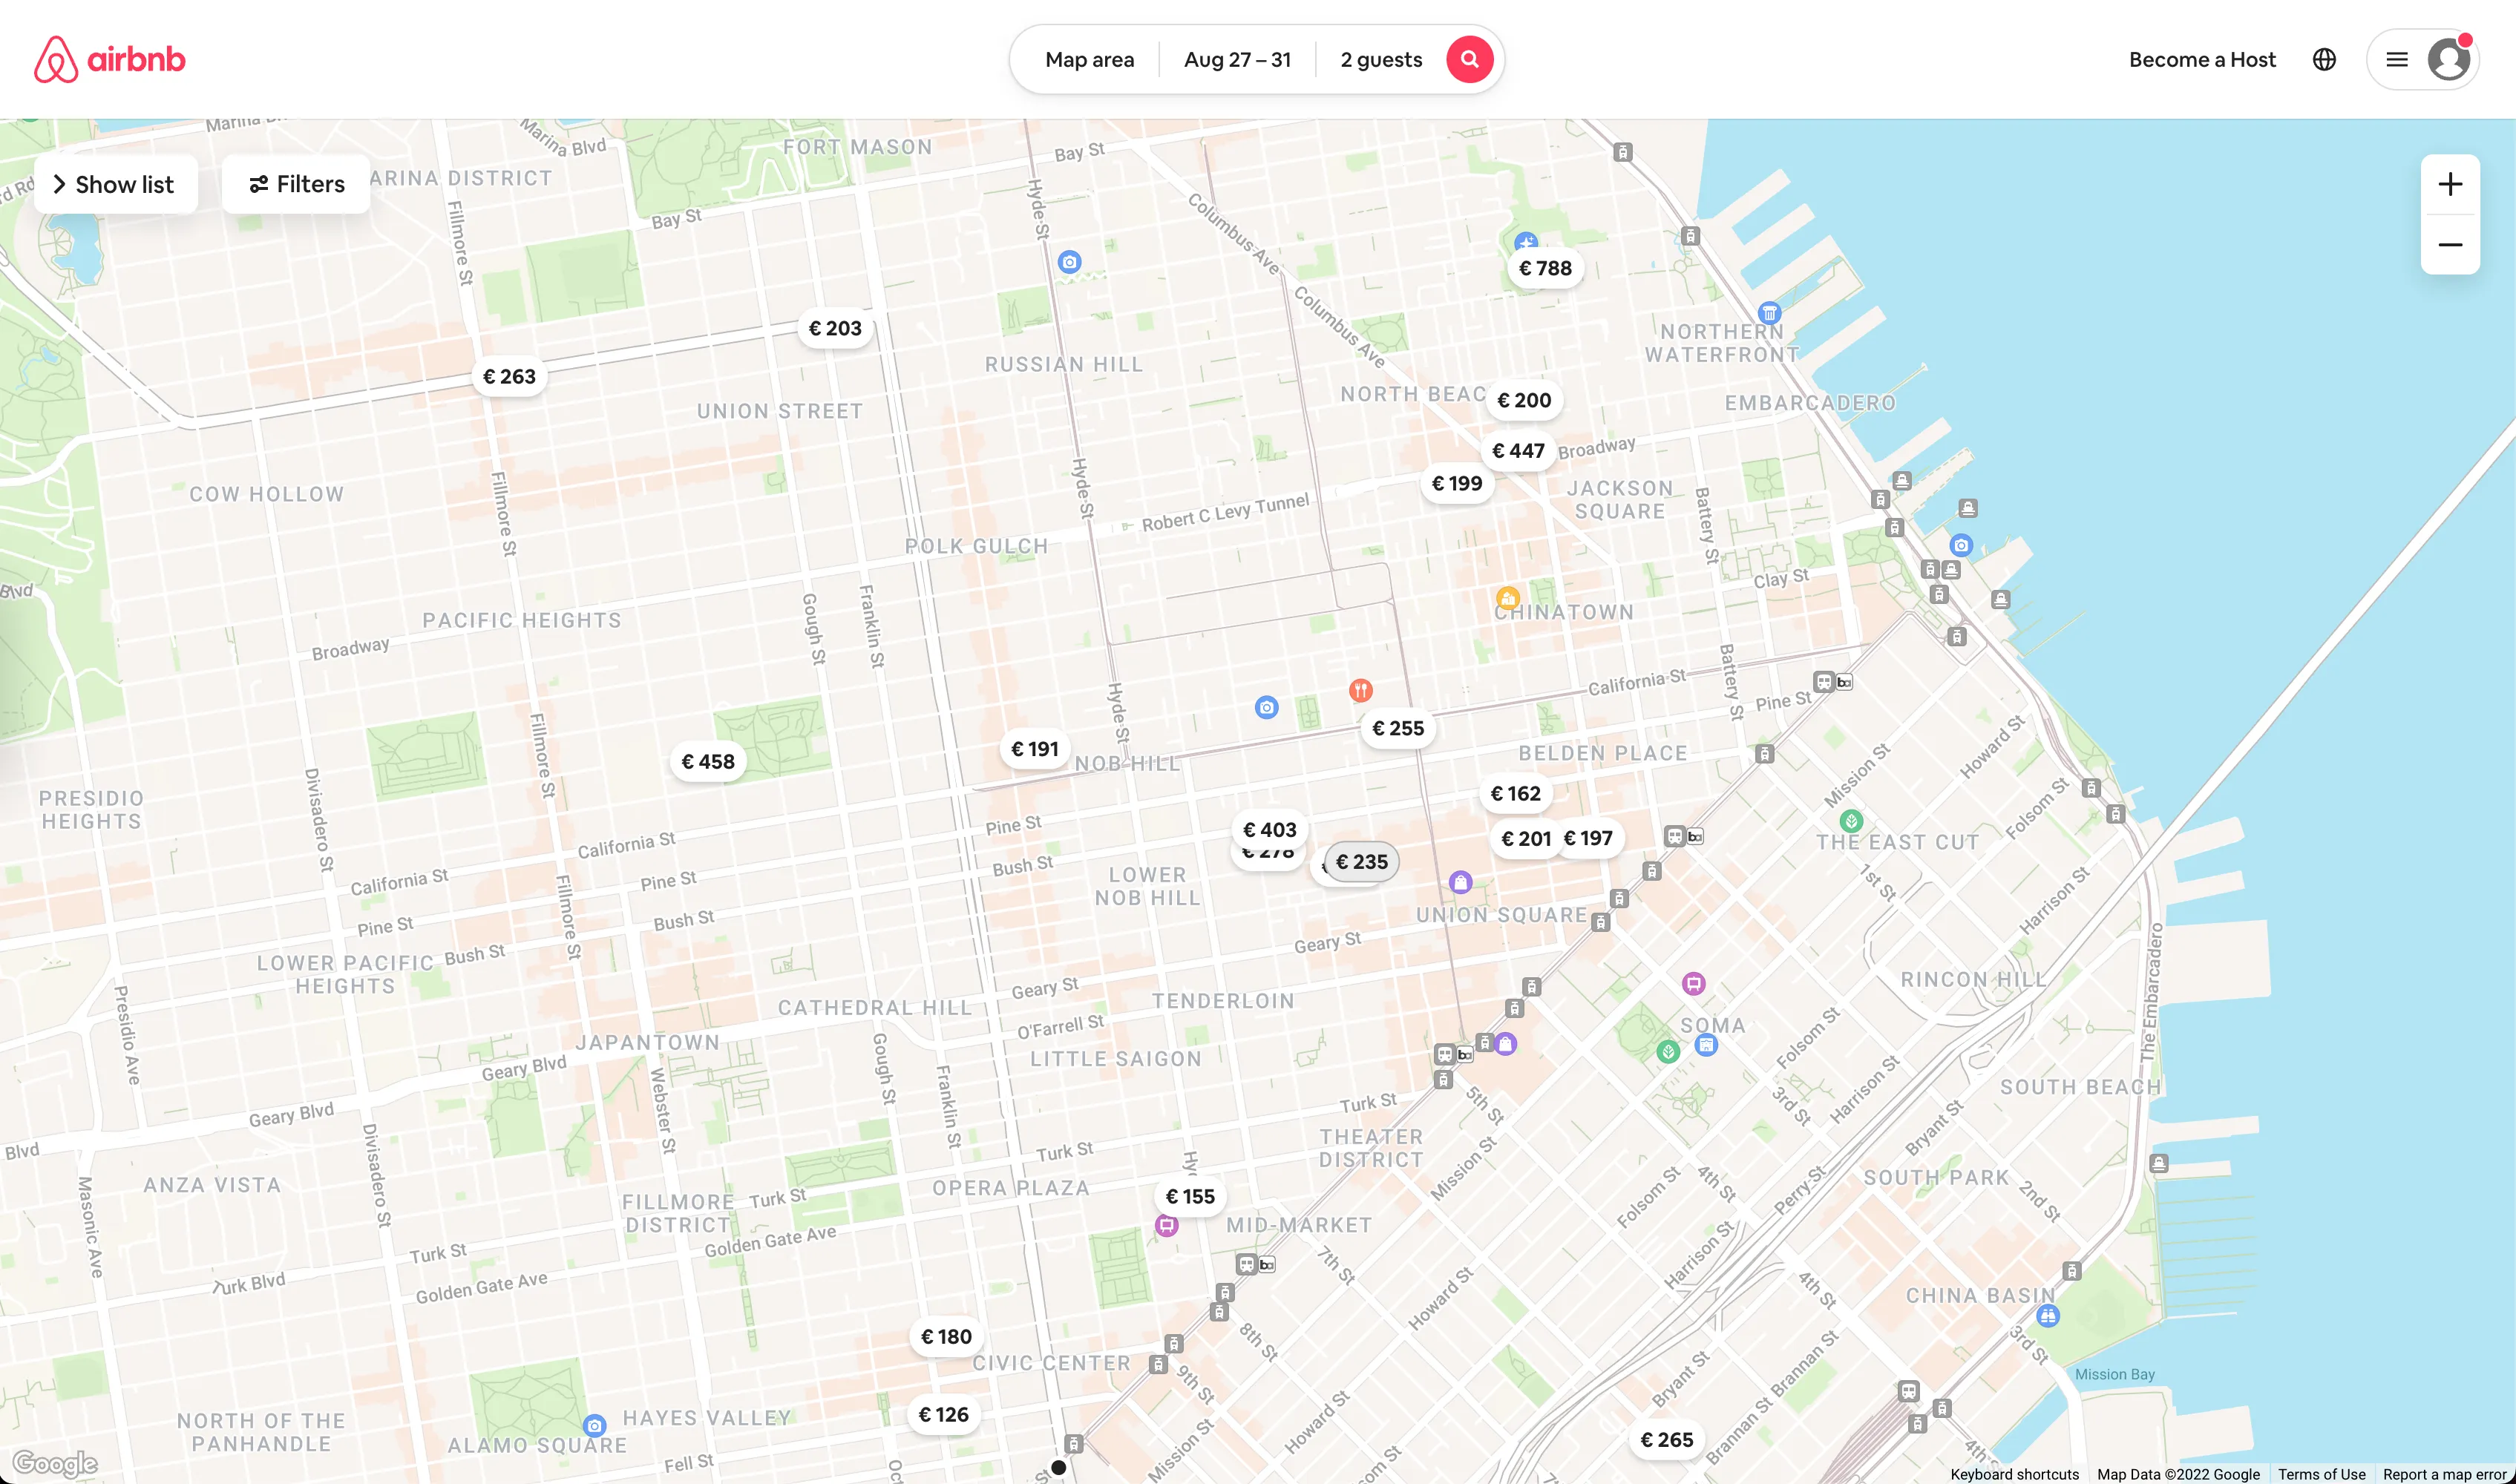
These markers pack much more functionalities than the default markers from Google Maps. Besides custom styling, each marker displays a dynamic pricing and states. When you interact with them, you'll see custom React components rendered with data.
I find it very fun and useful so let's unpack it together!
We'll be building a proof of concept to create customer markers using any React component.
Let's go.
Setting up The Project
The demo is available on GitHub. Feel free to fork it🚀
I integrated the Google Maps API in a Next.js project by following the official tutorial. The tutorial explains in detail how to render Google Maps and markers in React applications.
There are a few more integrations included in the project:
- RapidAPI - Priceline com Provider: to fetch hotel listings as our dataset.
- Tailwind CSS: to provide css styles.
- Framer Motion: to apply animations on React components.
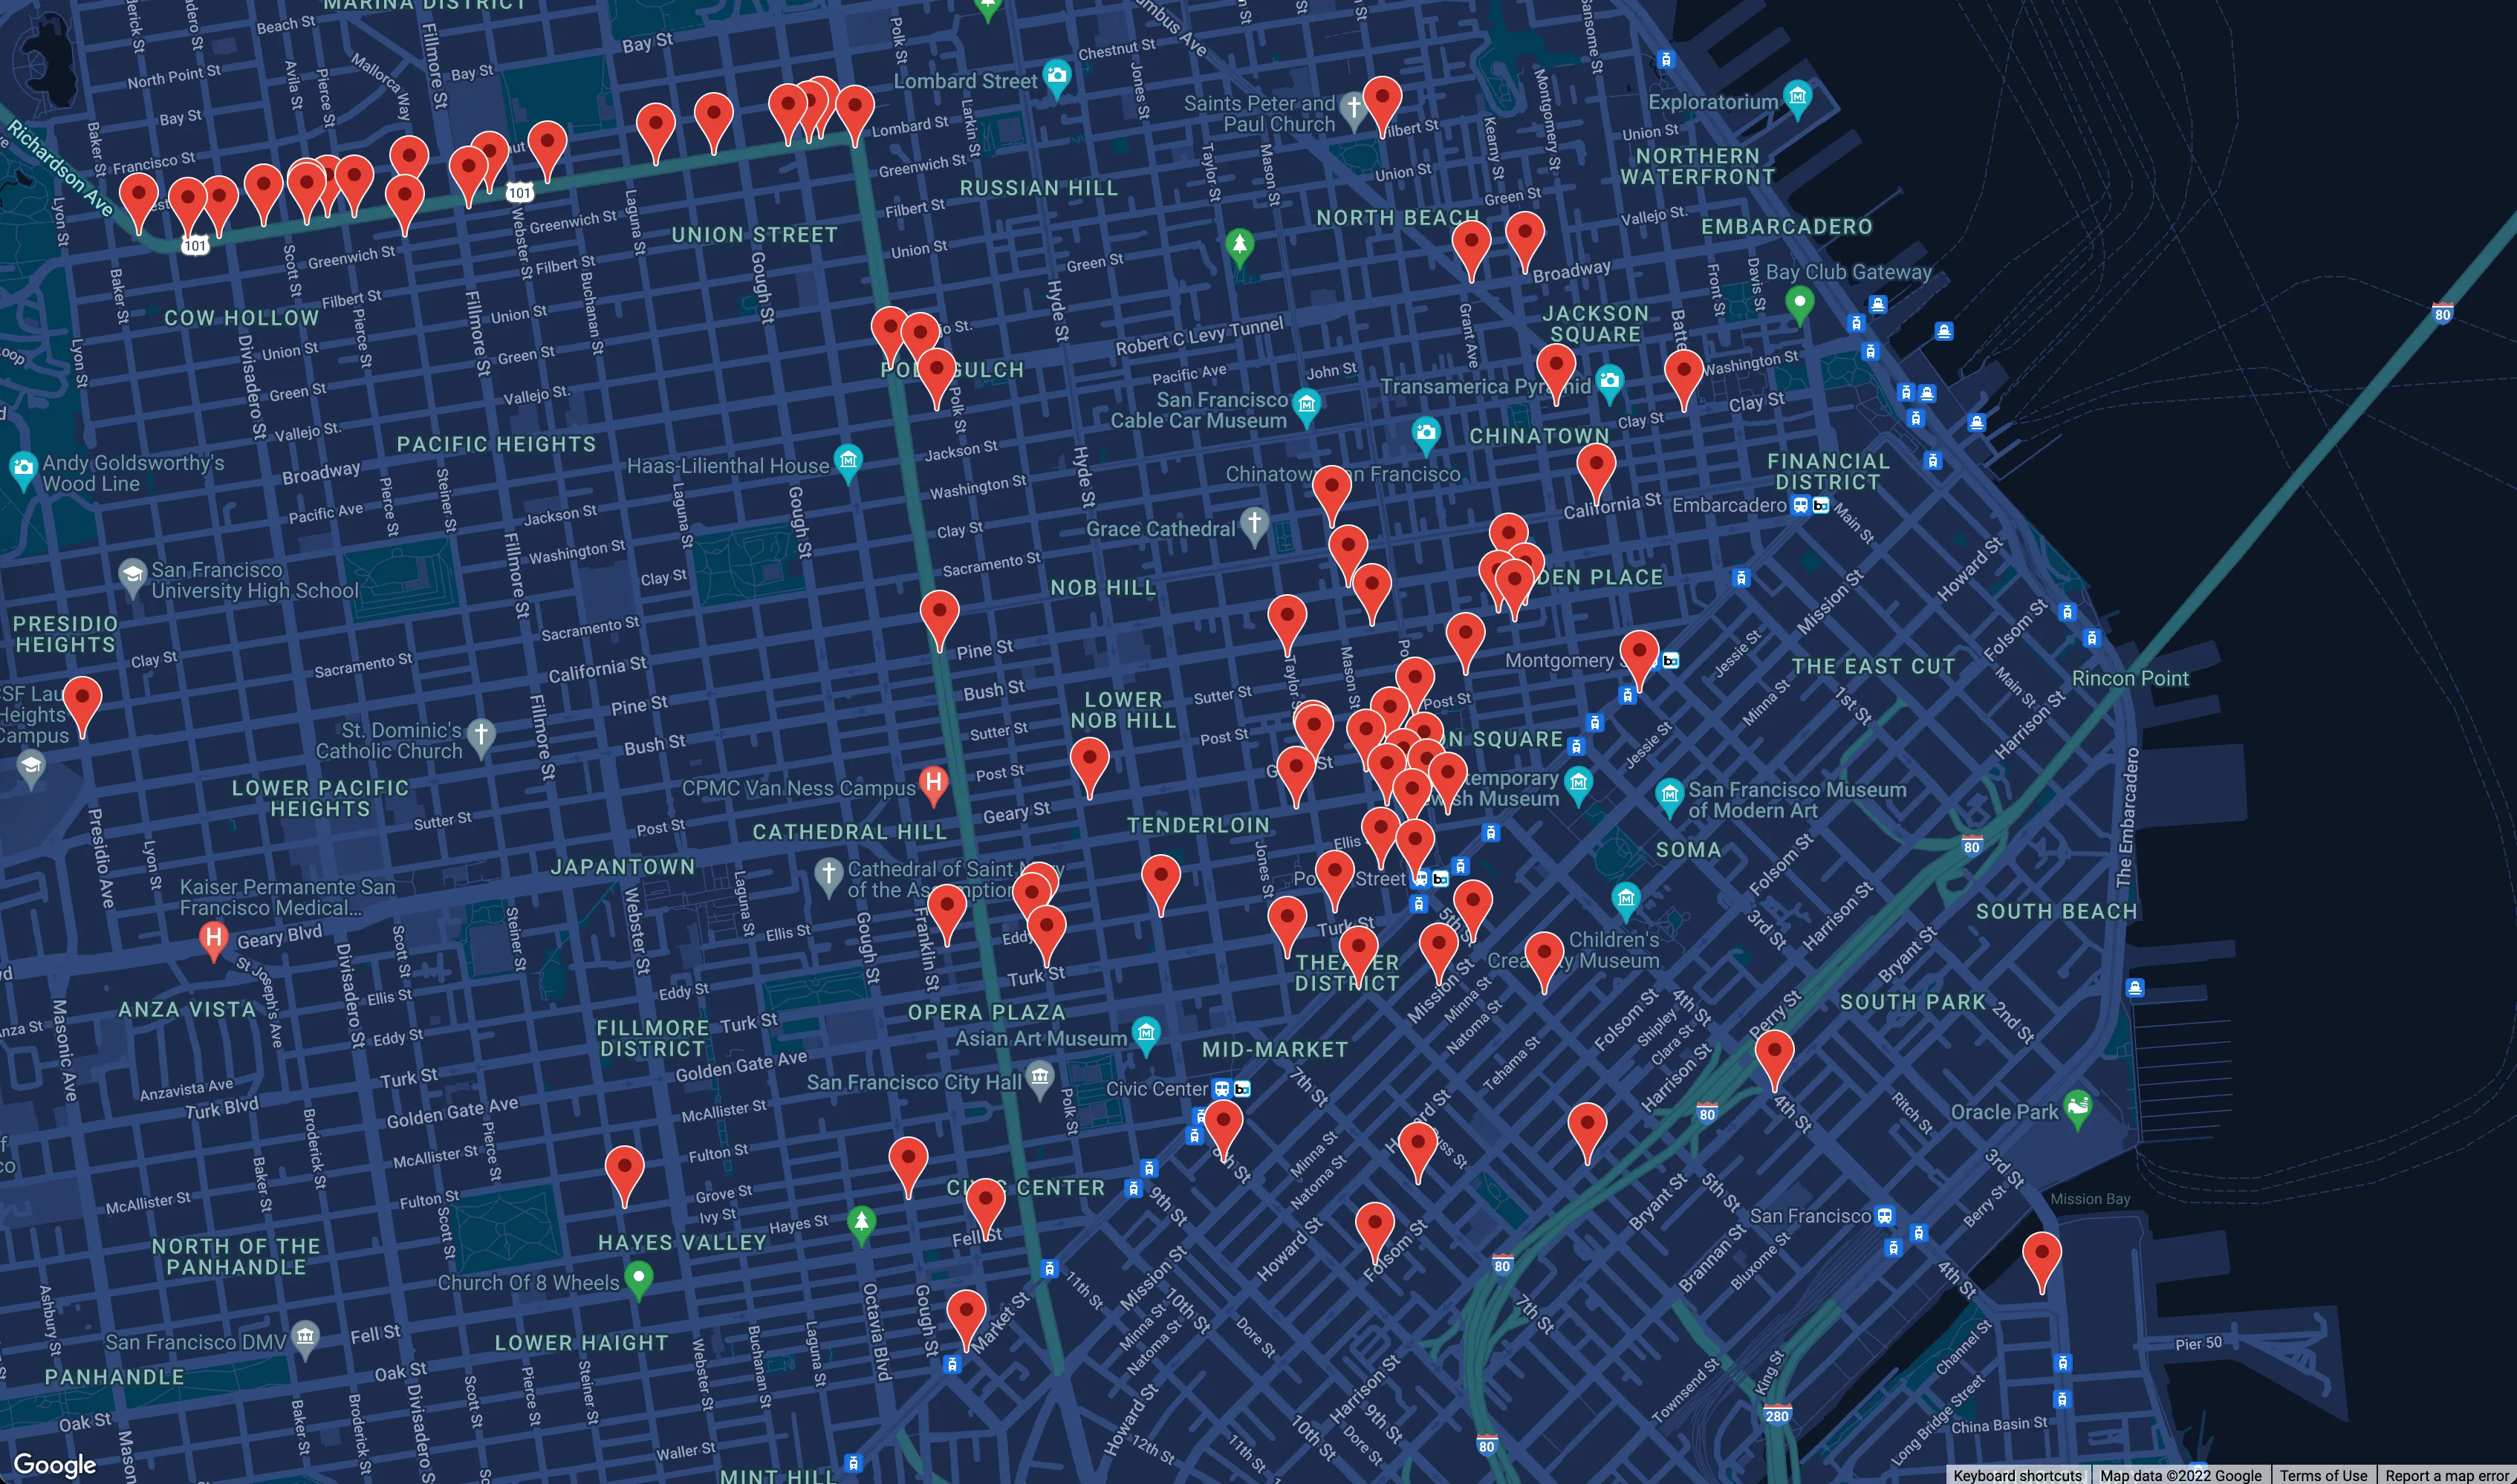
The default marker from Google Maps looks like this:
Customizing Markers Using Google Maps Overlay
Google Maps API offers an OverlayView class to place DOM elements on the map. We can use the OverlayView to place the container of a React Portal on the map and render a custom react component into the container.
Following the official tutorial to create a custom Overlay class, we'll implement the three basic methods:
- onAdd: to append our portal container to the target pane.
- draw: to position the container.
- onRemove: to remove the container from the DOM.
export class Overlay extends google.maps.OverlayView {
  container: HTMLElement
  pane: keyof google.maps.MapPanes
  position: google.maps.LatLng | google.maps.LatLngLiteral

  constructor(
    container: HTMLElement,
    pane: keyof google.maps.MapPanes,
    position: google.maps.LatLng | google.maps.LatLngLiteral
  ) {
    super()
    this.container = container
    this.pane = pane
    this.position = position
  }

  onAdd(): void {
    const pane = this.getPanes()?.[this.pane]
    pane?.appendChild(this.container)
  }

  draw(): void {
    const projection = this.getProjection()
    const point = projection.fromLatLngToDivPixel(this.position)

    if (point === null) {
      return
    }

    this.container.style.transform = `translate(${point.x}px, ${point.y}px)`
  }

  onRemove(): void {
    if (this.container.parentNode !== null) {
      this.container.parentNode.removeChild(this.container)
    }
  }
}
Connecting Google Maps and React
Now that we have our custom Overlay class, we can create a React component to:
- create a container,
- instantiate Overlay class,
- add the overlay into the map instance,
- and create a React portal to render components in the container.
import { PropsWithChildren, useEffect, useMemo } from 'react'
import { createPortal } from 'react-dom'
import { Overlay } from './Overlay'

type OverlayProps = PropsWithChildren<{
  position: google.maps.LatLng | google.maps.LatLngLiteral
  pane?: keyof google.maps.MapPanes
  map: google.maps.Map
  zIndex?: number
}>

export default function OverlayView({
  position,
  pane = 'floatPane',
  map,
  zIndex,
  children,
}: OverlayProps) {
  const container = useMemo(() => {
    const div = document.createElement('div')
    div.style.position = 'absolute'
    return div
  }, [])

  const overlay = useMemo(() => {
    return new Overlay(container, pane, position)
  }, [container, pane, position])

  useEffect(() => {
    overlay?.setMap(map)
    return () => overlay?.setMap(null)
  }, [map, overlay])

  // to move the container to the foreground and background
  useEffect(() => {
    container.style.zIndex = `${zIndex}`
  }, [zIndex, container])

  return createPortal(children, container)
}
Let's create a marker using the OverlayView component and a button.
import { useMemo } from "react";
import { Hotel } from "../../types/hotel";
import OverlayView from "../OverlayView";

interface CustomMarkerProps {
  hotel: Hotel;
  map?: google.maps.Map;
}

export default function CustomMarker({
  hotel,
  map,
}: CustomMarkerProps) {
  const price = useMemo(() => {
    return `$ ${hotel.ratesSummary.minPrice.replace(/\.(.*?\d*)/g, '')}`
  }, [hotel])

  return (
    <>
      {map && (
        <OverlayView
          position={{
            lat: hotel.location.latitude as number,
            lng: hotel.location.longitude as number,
          }}
          map={map}
          styles={{
            backgorundColor: 'DarkGray',
            color: 'white',
          }}
        >
          {/* use a button as the marker */}
          <button onClick={handleClick}>{price}</button>
        </OverlayView>
      )}
    </>
  )
}
Resolving Error in Next.js
If you've started your dev server or tried to build the project, you might see a Reference Error saying "google is not defined":
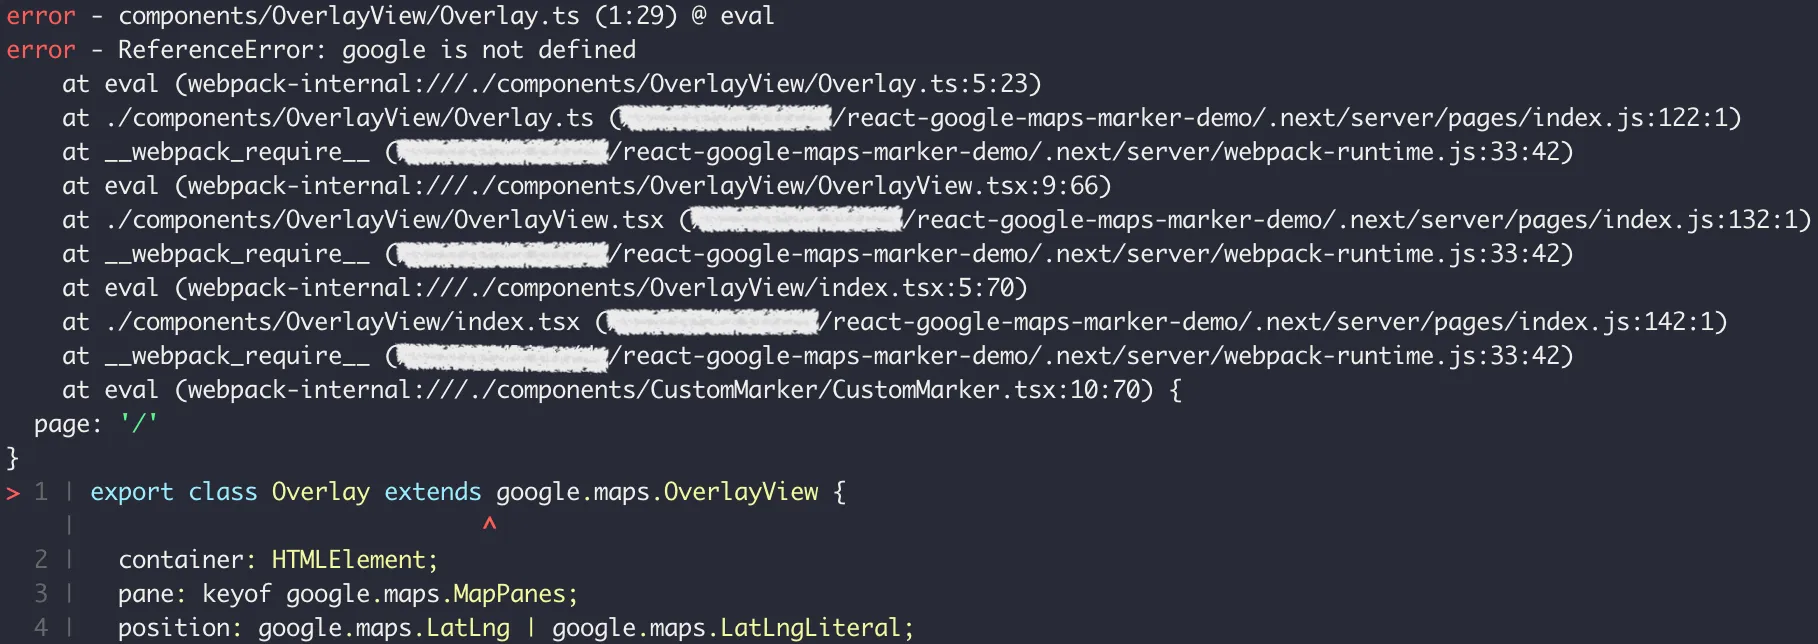
This is because Webpack doesn't recognize "google" at build time. At build time, Google Maps JavaScript API is not yet loaded so Webpack is not able to evaluate the Overlay class at the module level. What we can do is to wrap the class in a factory function to resolve the build error.
export function createOverlay(
  container: HTMLElement,
  pane: keyof google.maps.MapPanes,
  position: google.maps.LatLng | google.maps.LatLngLiteral
) {
  class Overlay extends google.maps.OverlayView {
    container: HTMLElement
    pane: keyof google.maps.MapPanes
    position: google.maps.LatLng | google.maps.LatLngLiteral

    constructor(
      container: HTMLElement,
      pane: keyof google.maps.MapPanes,
      position: google.maps.LatLng | google.maps.LatLngLiteral
    ) {
      super()
      this.container = container
      this.pane = pane
      this.position = position
    }

    onAdd(): void {
      const pane = this.getPanes()?.[this.pane]
      pane?.appendChild(this.container)
    }

    draw(): void {
      const projection = this.getProjection()
      const point = projection.fromLatLngToDivPixel(this.position)

      if (point === null) {
        return
      }

      this.container.style.transform = `translate(${point.x}px, ${point.y}px)`
    }

    onRemove(): void {
      if (this.container.parentNode !== null) {
        this.container.parentNode.removeChild(this.container)
      }
    }
  }
  return new Overlay(container, pane, position)
}
Let's refactor the OverlayView component accordingly:
- import { Overlay } from './Overlay'
+ import { createOverlay } from './Overlay'

export default function OverlayView({
  position,
  pane = 'floatPane',
  map,
  zIndex,
  children,
}: OverlayProps) {

  const overlay = useMemo(() => {
-   return new Overlay(container, pane, position)
+   return createOverlay(container, pane, position)
  }, [container, pane, position])

}
Now we should be able to see our map again and our custom markers without error!
Adding Animations and User Interactions
Since our custom markers are React components, we can define the user experience and use the available tooling in the React ecosystem. Let's implement:
- a soft animation to transition the marker's appearance,
- and a click event handler to toggle the button state and a card component that displays hotel details.
import { useCallback, useMemo } from 'react'
import { Hotel } from '../../types/hotel'
import OverlayView from '../OverlayView'
import { motion } from 'framer-motion'

interface CustomMarkerProps {
  hotel: Hotel
  map?: google.maps.Map
  onClick: (payload: Hotel) => void
  highlight?: boolean
}

export default function CustomMarker({
  hotel,
  map,
  onClick,
  highlight,
}: CustomMarkerProps) {
  const price = useMemo(() => {
    return `$ ${hotel.ratesSummary.minPrice.replace(/\.(.*?\d*)/g, '')}`
  }, [hotel])

  const handleClick = useCallback(() => {
    onClick(hotel)
  }, [onClick, hotel])

  return (
    <>
      {map && (
        <OverlayView
          position={{
            lat: hotel.location.latitude as number,
            lng: hotel.location.longitude as number,
          }}
          map={map}
          // when users select it, move the marker to the foreground
          zIndex={highlight ? 99 : 0}
        >
          {/* appearance transition */}
          <motion.div
            initial={{ opacity: 0 }}
            animate={{ opacity: 1 }}
            exit={{ opacity: 0 }}
            transition={{
              type: 'spring',
              stiffness: 400,
              damping: 20,
              delay: Math.random() * 0.3,
            }}
          >
            <button
              onClick={handleClick}
              // button state toggle
              styles={{
                backgorundColor: highlight ? 'white' : 'DarkGray',
                color: highlight ? 'black' : 'white',
              }}
            >
              {price}
            </button>
          </motion.div>
        </OverlayView>
      )}
    </>
  )
}
The animation looks like this:
The button state toggle and the card toggle are also in place:
Final Thoughts
It looks like a lot of code to create a custom marker but the mental model is actually straightforward:
- We render a DOM element as the container in the map through an overlay instance.
- In the overlay, we can position the container at the right place on the map.
- The container is also the destination of a React portal.
- When a React marker component is ready to render, we portal the component to the container in the map.
References
- Website: Adding a Map and Markers to a React Application
- Website: Google Maps JavaScript API - Markers
- Website: Google Maps JavaScript API - Custom Markers
- Website: Google Maps JavaScript API - OverlayView class
- Website: Google Maps JavaScript API - Custom Overlays
- Website: Google Maps JavaScript API - MapPanes interface
- Website: Airbnb
- Website: Designing States for Buttons & UI Interactions - Adobe XD Ideas
- Website: Framer Motion
- Website: React Portals
- Website: Next.js
- Website: RapidAPI - Priceline com Provider
- Website: Factory Pattern - patterns
- GitHub: Google Maps JavaScript API React Wrapper
- GitHub: react-google-maps-marker-demo
💬 Comments on Reddit.
Here you have it! Thanks for reading through🙌 If you find this article useful, please share it to help more people in their engineering journey.
🐦 Feel free to connect with me on twitter!
⏭ Ready for the next article? 👉 Event Bus for React
Happy coding!